541 JUMP • KLAMATH COUNTY EVENT PLANNING
You can start a tent request with your event date, location and approximate guest count. Photos and measurements are optional at this stage; if we need a closer look, we will explain what would help. This guide is here for when those details are useful. The rental team still confirms whether the selected tent suits the property.
This optional guide adds detail to our tent quote checklist. Use it for a backyard gathering in Klamath Falls or a celebration in Chiloquin, Bonanza, Keno, Merrill or Malin. The exact property matters more than the city name.
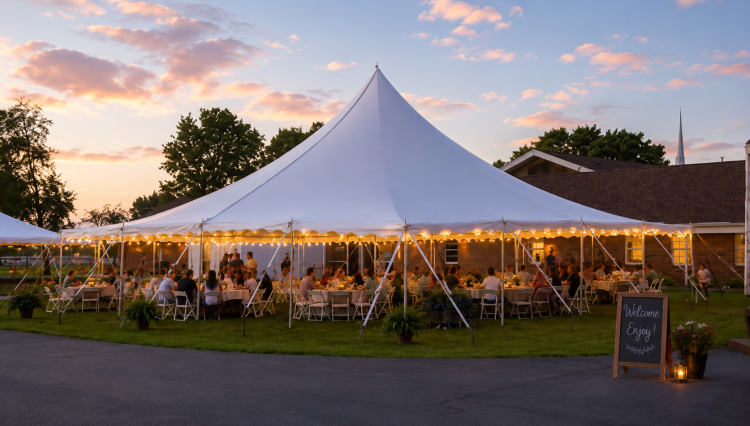
Take a wide photo from each side of the space. Include the ground and surrounding buildings, trees, fences and paths instead of cropping tightly around an empty patch of lawn. A view back toward the house or venue helps explain how guests will enter the event.
Label the photos with simple names such as “looking toward house” and “looking toward driveway.” If you are considering two possible locations, label them Area A and Area B so the team can tell which measurements belong to each.
Write down the measured length and width of the area you are considering, and state whether the figures are measured or estimated. Note anything that interrupts the space, including landscaping, steps, fixed furniture, slopes or changes in surface. For an irregular yard, a quick sketch can help if you have one. The team can guide you through any measurements they need.
Do not subtract or add a guessed clearance allowance. A tent’s advertised footprint is not the total installation area. Our tent-size guide explains that distinction; the installation team must determine the requirements for the actual tent and site.
Start at the property entrance and show the route toward the setup area. Include turns, gates, steps and any point where access narrows. Note gate openings, locked access, parking restrictions and a long carry between the unloading area and the proposed tent location. Approximate measurements can help describe a narrow opening, but the crew must confirm whether the route works.
Before delivery, we will need an on-site contact and access to the agreed setup area. For a venue, we can discuss its delivery entrance and access times as the plan comes together.
Identify the surface as you know it: grass, gravel, pavement or another material. Mention known underground utilities, irrigation or septic features, and show visible overhead obstacles in your photos. Do not probe, dig, mark an installation pattern or decide on an anchoring method yourself.
Photos are an initial planning aid. They may not show ground conditions or every access issue, and the rental team may need more information or a site review before confirming a setup.
Event: date, full address and on-site contact.
Proposed area: Area A or B, surface and approximate dimensions.
Photos: views from each side, property entrance and delivery route.
Access notes: gates, turns, steps, parking and unlocking contact.
Questions to review: slopes, overhead obstacles, known underground features and property restrictions.
Use of the tent: dining, food service, entertainment and other covered activities.
No. Photos and measurements support the review, but the team must assess the tent, installation area and access together. Keep your location flexible until the setup is confirmed.
You can browse options first. Start with your date, location and guest estimate. The team can help compare suitable tents and let you know what site details are needed.
Browse 541 Jump tents, tables and chairs or call (541) 581-0453. Tell us your date, location and approximate guest count. No worksheet is needed to get started; we will help with the rest.